
Liquid screed provides excellent insulation to help regulate temperatures. It allows underfloor heating systems to work their best too. Plus it protects against moisture creeping up and acts as a sound barrier between floors.
Laying down a liquid screed base knocks out multiple home improvement needs in one go. No wonder it’s becoming such a must-have for renovations and new construction projects nationwide!
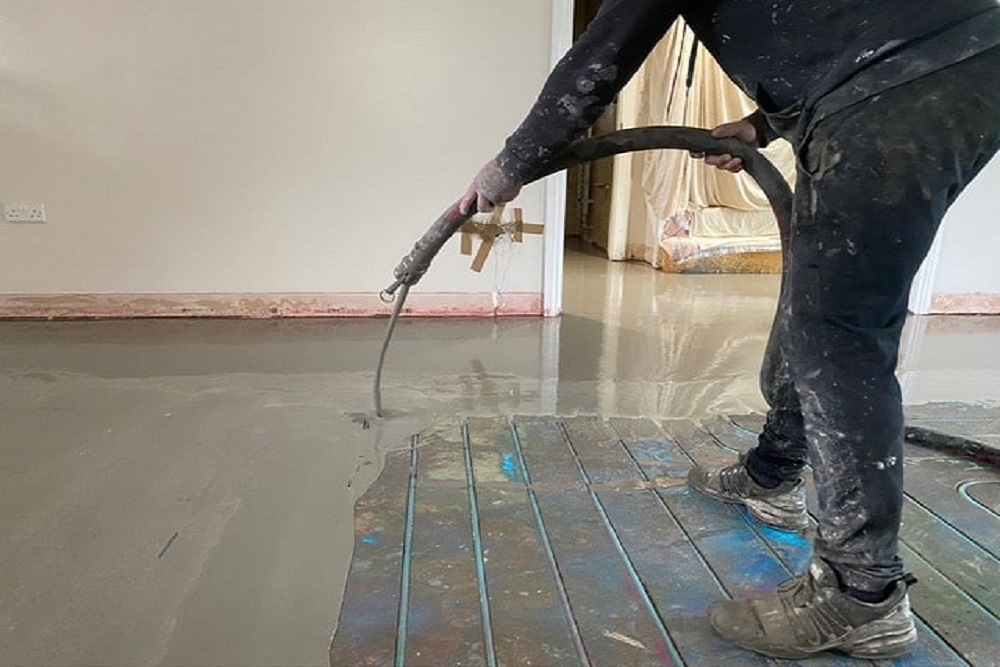
No more bumpy, uneven subfloors making your fancy tile work look wonky.
It’s got some other awesome benefits too:
- Quick to install compared to traditional screed methods. Liquid screed just gets poured down and levels itself, no labour-intensive screeding board work is required. Saves a ton of time and effort!
- Provides excellent thermal mass which helps insulate and regulate temperatures. That liquid screed base acts like a heat sink to keep things comfortable year-round.
- Allows underfloor heating systems to work way more effectively and efficiently. The seamless liquid screed transfers that radiant heat evenly across the whole floor. No cold spots!
- Significantly reduces noise transfer between floor levels. Say goodbye to hearing every footstep and door close from the floor below or above you. Liquid screed muffles sound wonderfully.
With perks like those, it’s no wonder liquid screed is becoming so in demand for home renovations and new construction projects. It just checks a lot of important boxes!
You might be thinking: “This liquid screed thing sounds amazing! Why wasn’t it invented sooner?”
How long for the screed to dry walk on can vary depending on a few different factors:
- How thick the liquid screed layer is
- The temperature and humidity levels in the room
- Whether underfloor heating elements were installed
As a general guideline, you’ll probably need to wait around:
– 1-3 days before you can safely walk on the liquid screed
– 7-10 days before it’s ready for tiling
– 4-6 weeks before installing wood, laminate or other coverings
But keep in mind, those are just rough estimates. If you poured an extra thick layer over 50mm, it’ll likely be on the longer end of those timelines.
Don’t just go by those general numbers though. Using a proper moisture meter to test the actual dryness is highly recommended.
You want to see moisture readings of:
– 5% or less before tiling
– 1.5% or less for wood, laminate, etc.
Getting a professional to do drying checks is the best way to avoid any moisture issues down the road.
Why You Can’t Rush Drying Liquid Screed
Forcing liquid screed to dry too fast is a huge no-no.
If it dries unevenly or way too quickly, it can lead to all sorts of problems like:
– Cracks forming in the surface
– Shrinkage and pulling away from walls
– Compromised strength and durability
Not something you want in your beautiful new floor installation. A cracked, shrunken liquid screed base is the opposite of that level, seamless surface you’re going for.
The liquid screed needs to be allowed to cure at its own natural pace. Rushing the drying process pretty much guarantees a shoddy, problematic result that won’t last.
So as antsy as you might be feeling, resist taking any shortcuts! Be patient and let that liquid screed take all the time it needs for proper, even drying.
Waiting can be hard. But doesn’t a perfect new floor installation sound way better than a cracked, peeling mess?
Taking Proper Care of Dried Liquid Screed
Once your patience has paid off and the liquid screed has fully dried and cured, it’s finally time for that flooring installation! The really fun part.
Before those new floors get put in though, there’s some important preparation work needed for the liquid screed base:
First up, you’ll want to apply a specialised liquid damp-proof membrane over the whole surface. This helps protect the liquid screed from any moisture that could seep up from the subfloor below.
Next, the liquid screed itself needs to be properly sealed and polished. This safeguards it from staining and makes for easier cleaning down the road.
With those two crucial steps checked off, your flooring can finally get installed on that beautiful, level liquid screed base! Hardwood, tile, vinyl, you name it – it’ll look flawless.
But don’t forget, even after your new floors are in, liquid screed requires some routine maintenance to keep it in tip-top shape:
– Reapply that damp-proof membrane every few years
– Give it a fresh seal and polish annually
– Clean up any spills quickly to prevent staining
– Repair any cracks ASAP to avoid moisture penetration
With just some basic, easy love and care like that, your liquid screed floors will look as gorgeous as the day they were installed for many, many years to come.
Patience Is Key to Liquid Screed Success
There you have it! All the must-know details on those magic liquid screed floors.
To recap the key points we covered:
- Liquid screed provides a smooth, perfectly level base for floors
- Typical drying times are 1-3 days for walking, up to 6 weeks for wood floors
- Never try to rush the drying process – let it cure naturally
- Apply membrane, seal it, and maintain liquid screed properly
If you plan things out right, manage how long for the screed to dry walk on with patience, and take good care of it, liquid screed pretty much guarantees you’ll end up with amazing, long-lasting floors in your home.
While waiting can be a bit of a pain, don’t those final results sound worth it? Visualise your dream floors and know the temporary inconvenience will all be worth it.
Any other questions about the liquid screed? Don’t hesitate to ask your contractor or flooring specialist. They’ll be happy to put your mind at ease and ensure your new floor installation goes off without a hitch!


