Before liquid screed can be poured there are a few steps to complete to make sure you get the optimum finish. The building, of course, needs to be weather tight, the roof covered and all external doors and windows in place. (or all openings made weatherproof with clear polythene) Then follow these simple steps for your liquid screed preparation:
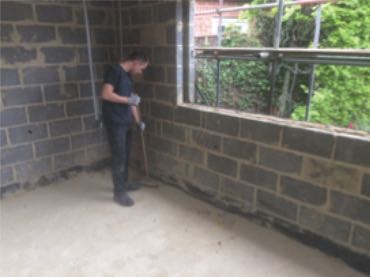
1. Subfloor preparation
Scrape off any debris or mortar splashes from the sub-floor and brush the sub-floor leaving a flat clean surface on which to place the insulation.
2. Laying the insulation
Place the insulation in 2 layers where service pipes are to be installed. Place the first layer between any service pipes on the sub-floor ensuring it is laid flat.
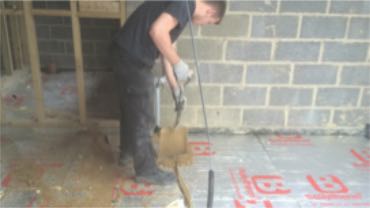
3. Filling voids
Fill any voids around the pipes, with dried sand and level off, then place the 2nd layer of insulation over the 1st layer ensuring it remains flat with no rocking.
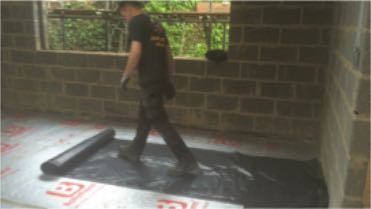
4. Laying the membrane
Lay 500 gauge plastic over the top of the insulation ensuring it is pulled tight with no creases and lap joints at a minimum of 100mm. Leave approximately 100mm of the membrane to run up the wall so the perimeter edging strip can be laid on top.
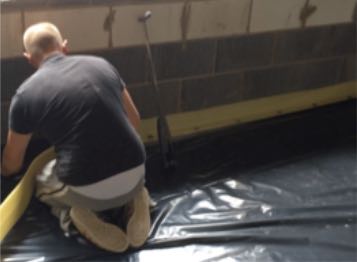
5. The perimeter
Install the edging strip around all walls taking care to ensure it is neatly placed into all corners at 90 degrees. Tack the edging strip to the walls using a staple gun as required to hold it in position.
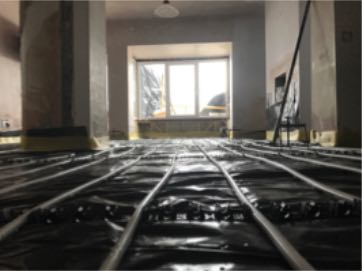
6. Laying the underfloor heating
Install the underfloor heating pipes, ensuring they are appropriately fixed at every 400mm along the length of the pipes more frequently on bends

7. Pressurising the system
Fill the underfloor heating pipes with water and check for any signs of leaking. Perform a pressure test to ensure pipes hold water under pressure.
Just one word about control joints. As liquid screed has minimal drying shrinkage, control joints are not usually needed at less than 40m lengths. In the case of long narrow sections, where the aspect ratio of the floor is greater than about 1:6 a joint or joints are recommended to reduce the ratio. Control joints will also be needed between any areas of heated floor and unheated floor. They should also be used at doors and similar restrictions in plan dimension. All structural joints in the sub-base should be carried through the screed or reflected cracking may occur.
Once you have finished your liquid screed preparation you are ready to pour your anhydrite screed, remember only approved contractors can lay the liquid screed so do make sure the contractors you use are approved installers.


